1
Enable your agent for collaboration
To make your agent compatible with watsonx Orchestrate, you need to implement the Agent Connect API endpoints. The primary endpoint is the chat completion endpoint, which follows the OpenAI chat completions format.
Step-by-step example
Step-by-step example
1
Set up your server
First, create a server that will host your agent’s API endpoints. You can use any web framework in your preferred language. Here are a few examples using Express.js, Flask and Go’s standard library:
2
Implement the chat completion endpoint
Add the chat completion endpoint to your server:
3
Implement the agent discovery endpoint
Add the agent discovery endpoint to allow your agent to be discovered:
4
Implement message processing logic
Create functions to process messages and generate responses:
5
Deploy your agent
Deploy your agent to a publicly accessible URL. You can use platforms like:
- IBM Cloud Code Engine
- AWS Lambda
- Google Cloud Run
- Your own infrastructure
Using an open source agent framework?
Check out our examples for ideas on how to use popular open source frameworks with Agent Connect.
2
Log in to watsonx Orchestrate
To connect your agent with watsonx Orchestrate, you need to log in to an IBM watsonx Orchestrate account.
- If you already have an account set up, log in to watsonx Orchestrate .
- If you don’t have an account, you can sign up for a watsonx Orchestrate free trial:
- Visit the watsonx Orchestrate free trial page and follow the instructions to sign up.
3
Register your agent with watsonx Orchestrate
Now that you deployed your agent and you have access to watsonx Orchestrate, you can register your agent.
Registering your agent with the Agent Development Kit (ADK)
Registering your agent with the Agent Development Kit (ADK)
1
Install the ADK
Navigate to Installing the ADK to learn how to install the ADK.
2
Register an external agent
For more information, see External Agents .
3
Deploy your agent
For more information, see Deploying Agents .
Registering your agent to another agent in Agent Builder
Registering your agent to another agent in Agent Builder
1
Open the Agent Builder
Navigate to Build > Agent Builder.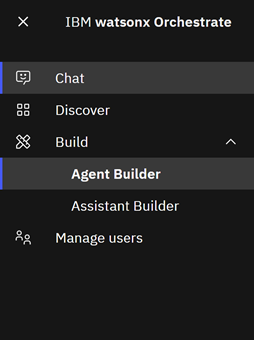
2
Select an agent
Select an agent from the catalog.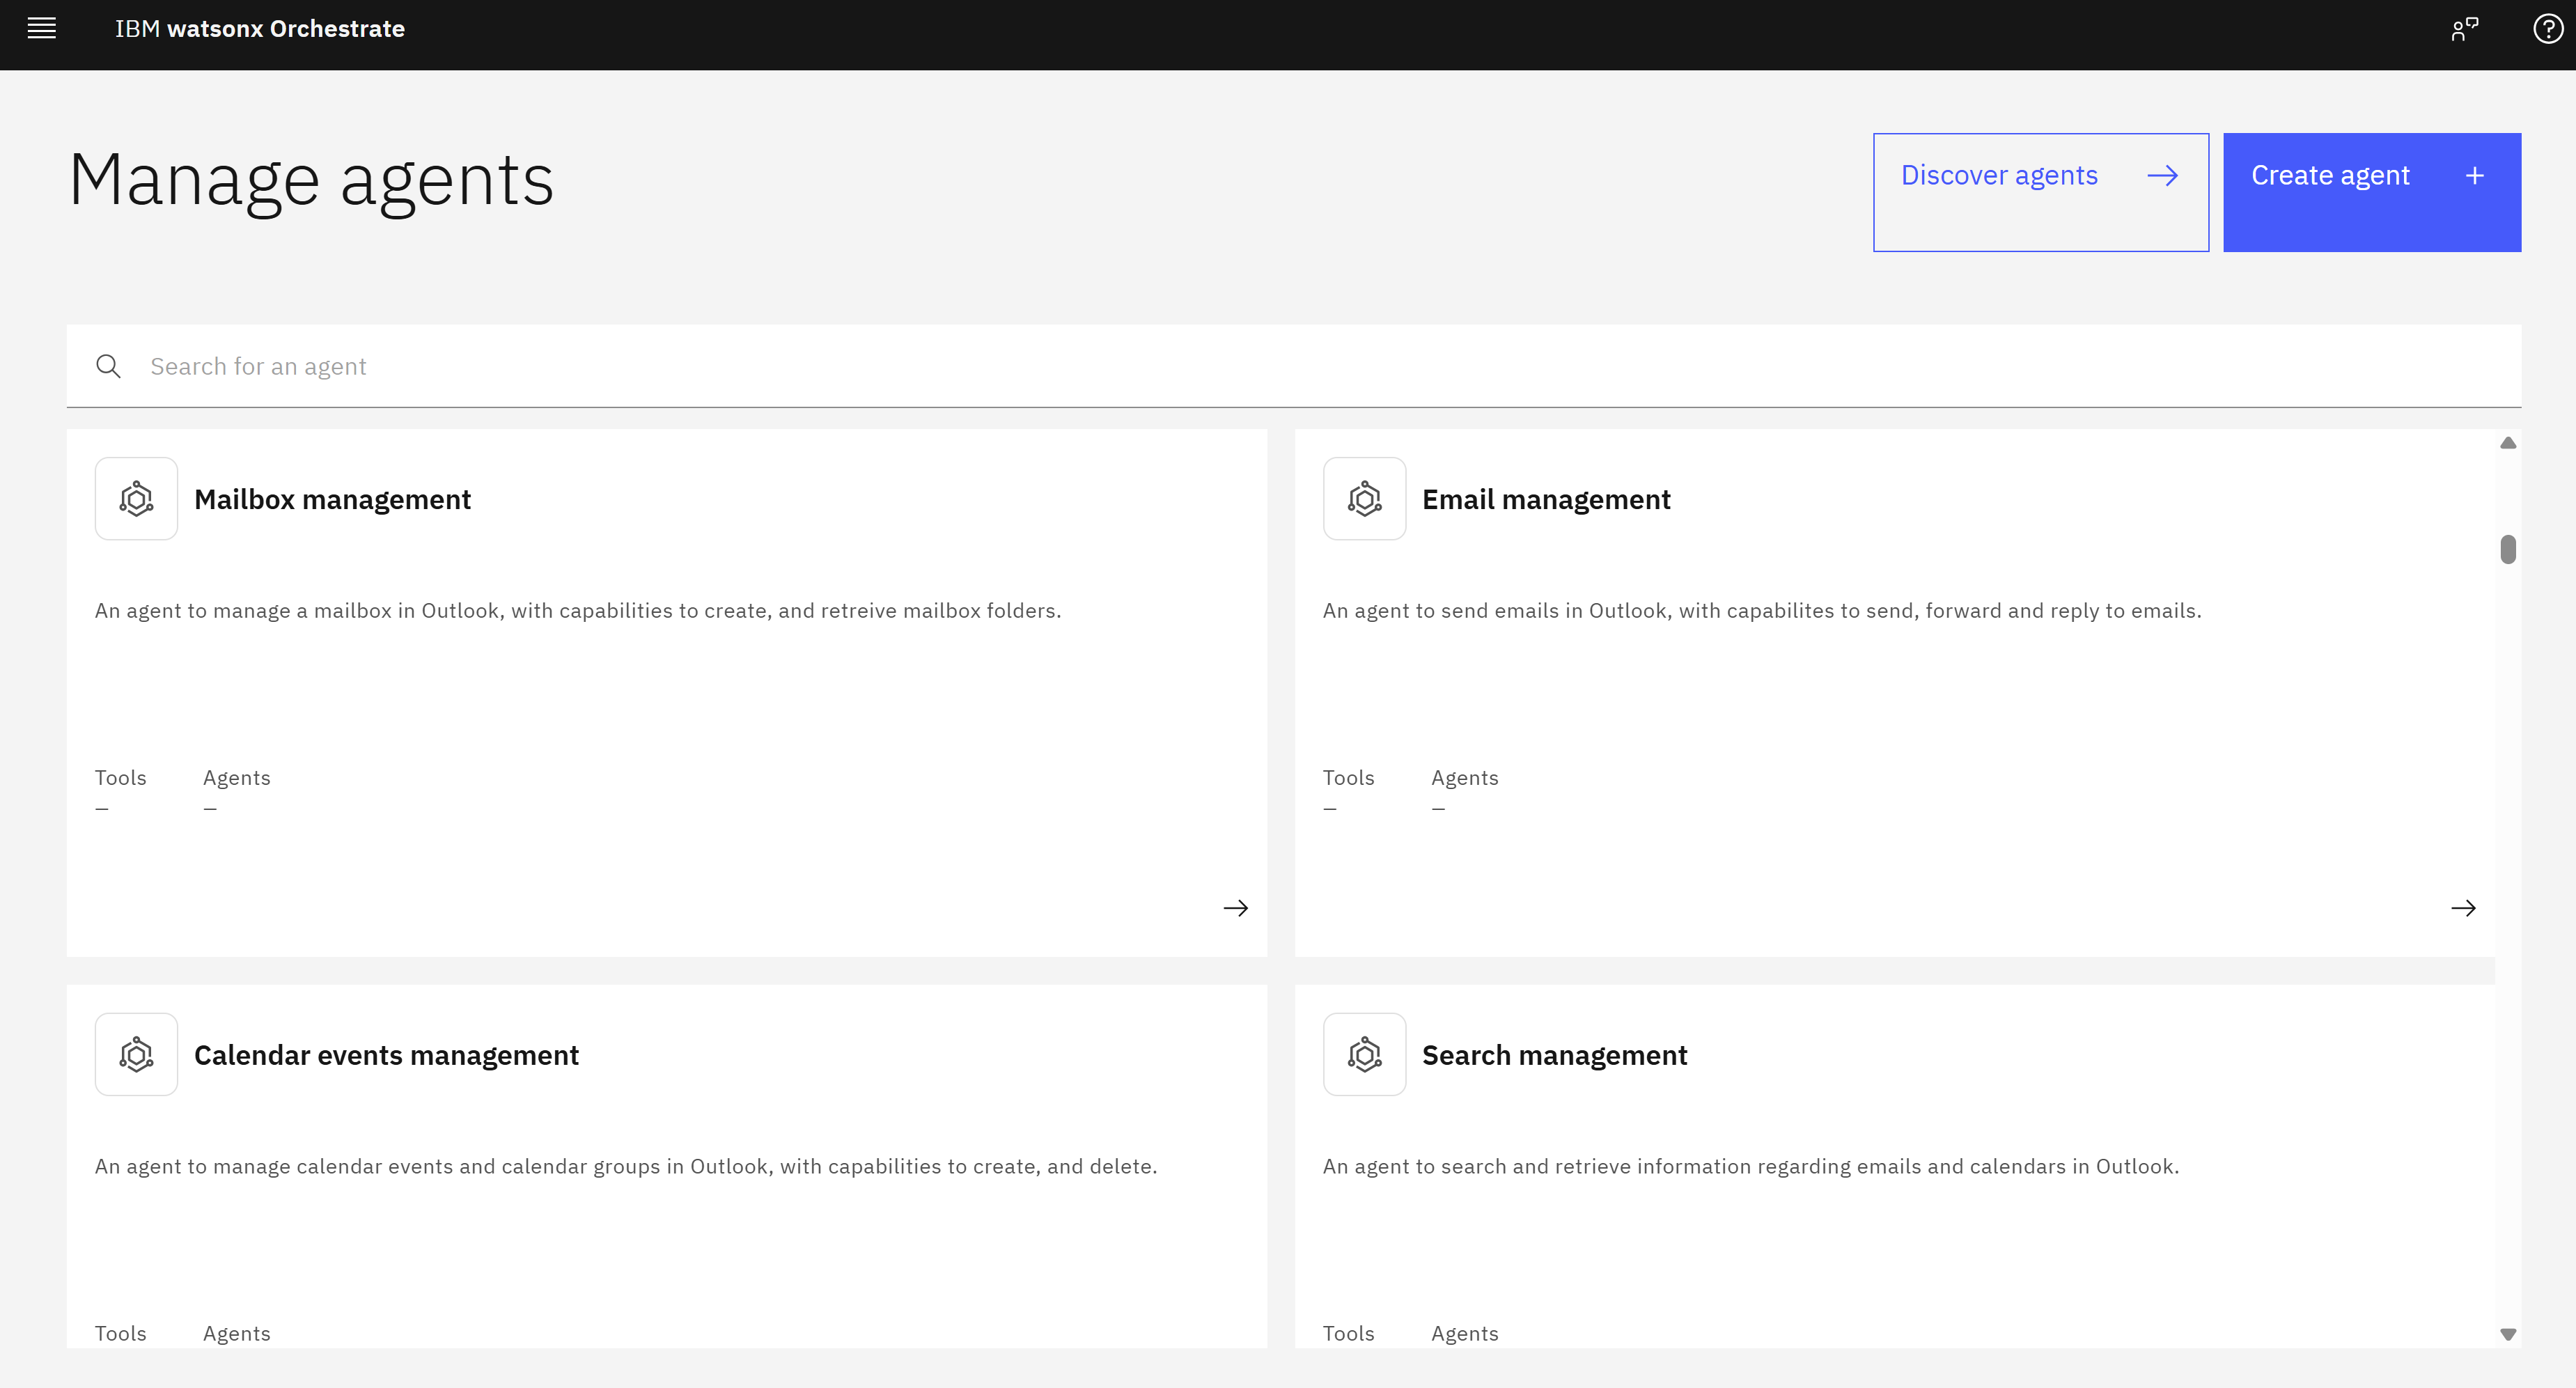
3
Add your agent
From the Toolset, click Add agent.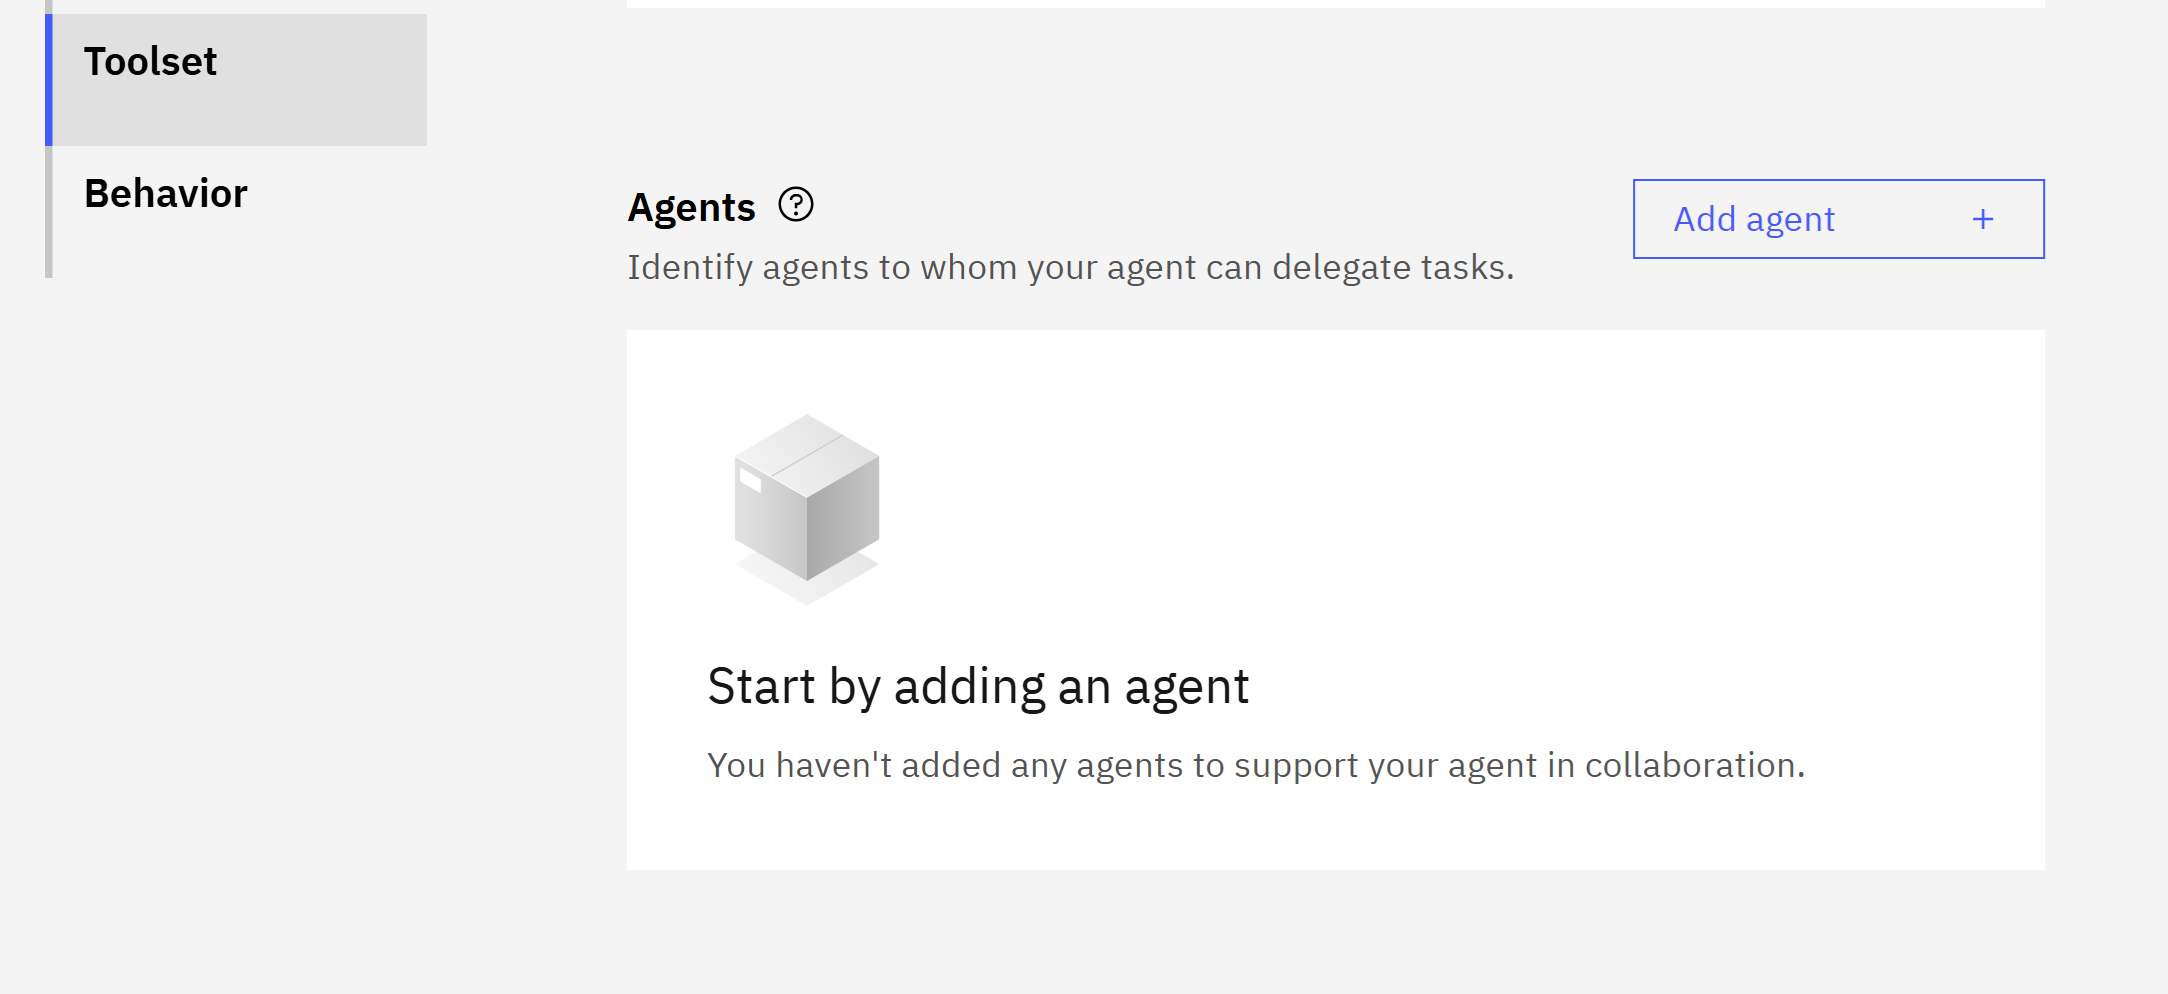
4
Import agent
Click Import to import your external agent.
5
Add external agent
On the Import agent screen, select External agent and click Next.
6
Add agent information
Provide the following details: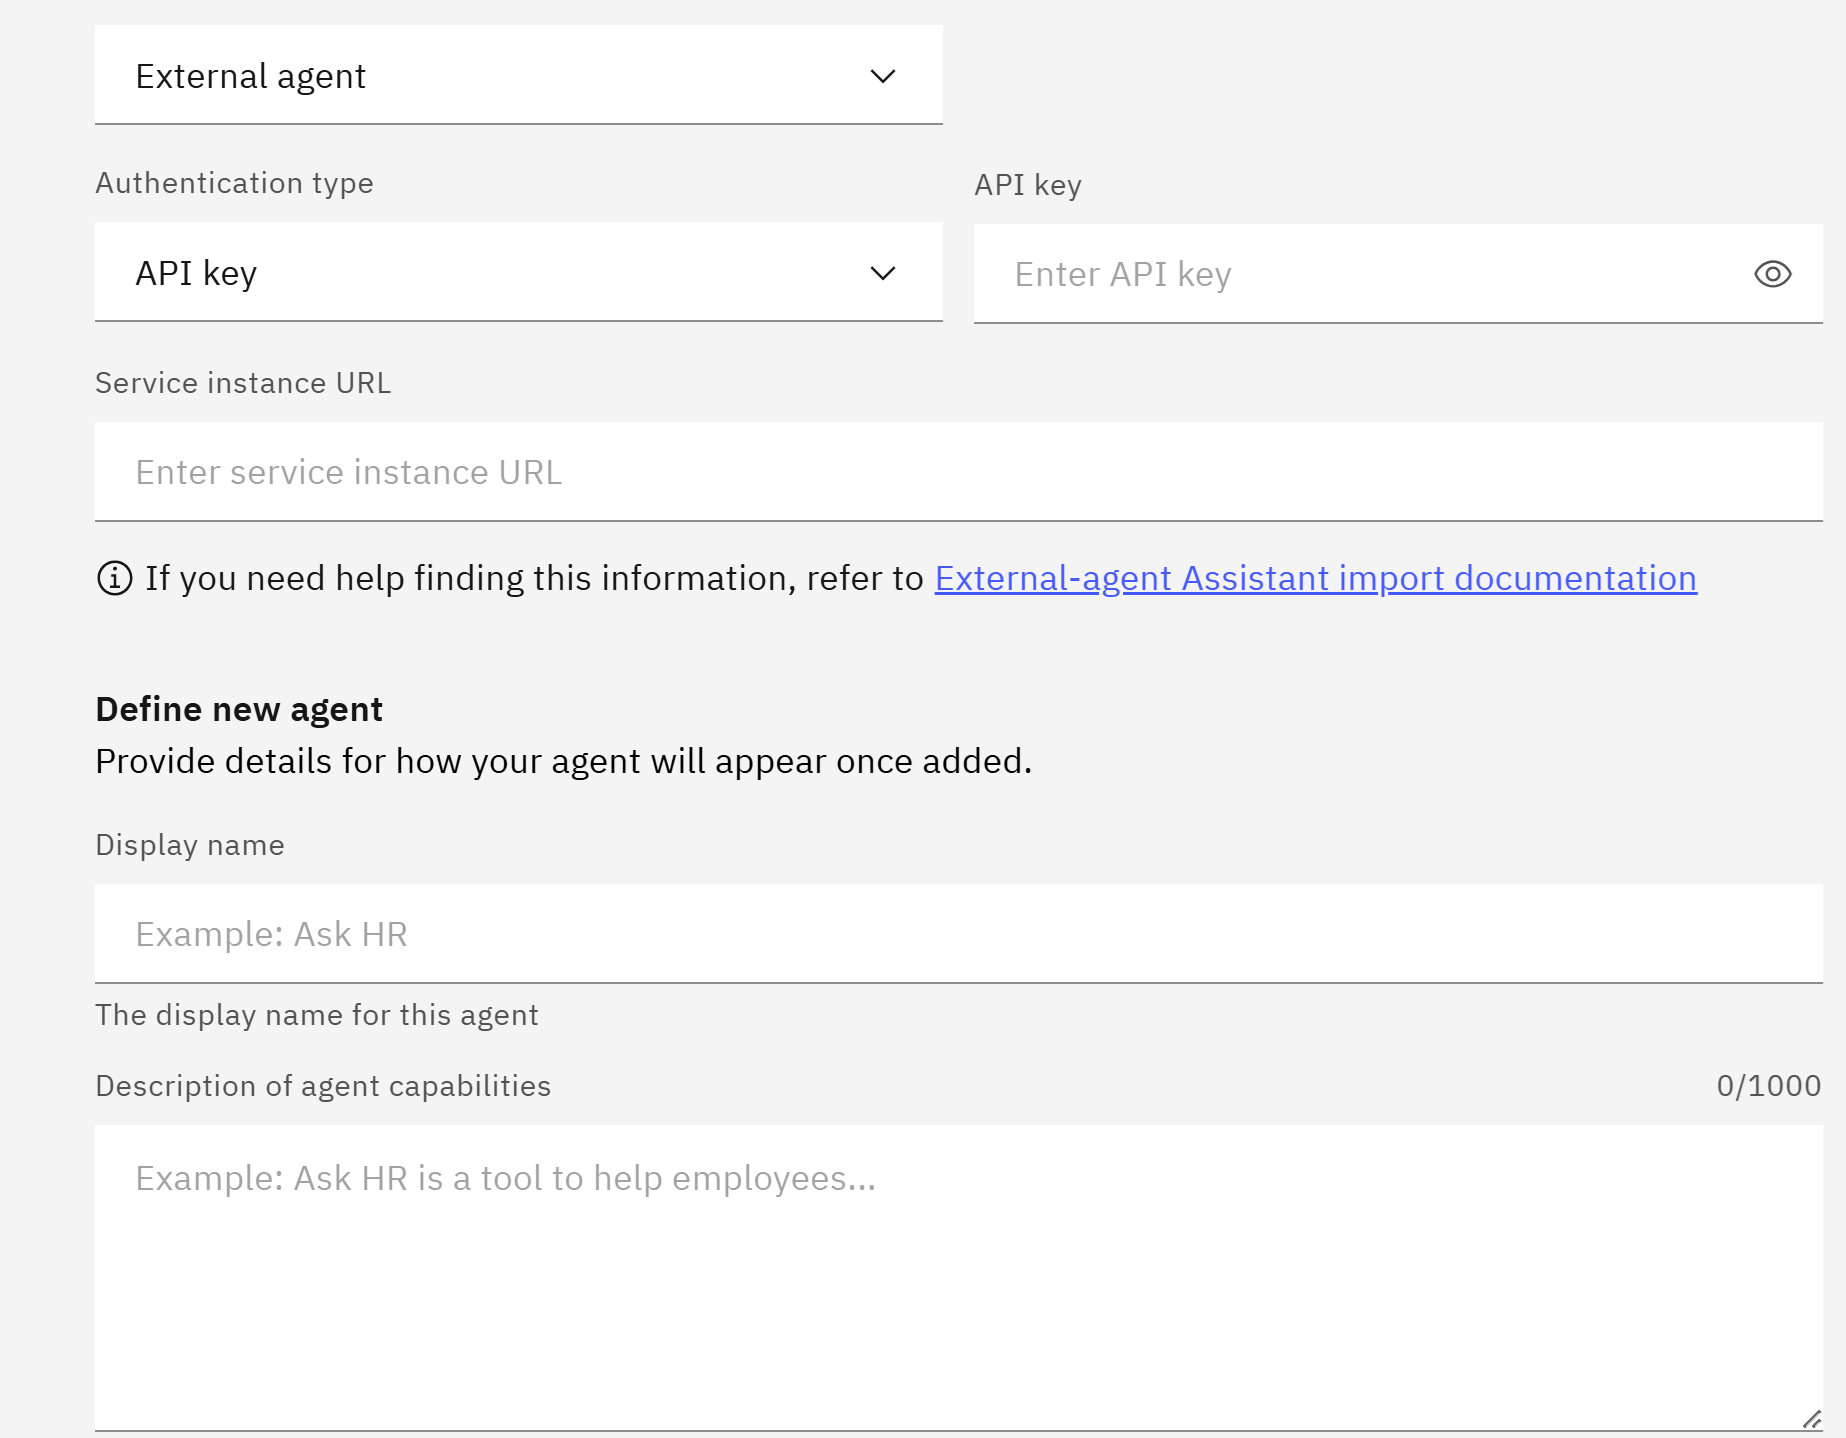
- Authentication: Specify the type of authentication and the credentials for your agent.
- Service instance URL: The URL endpoint of your agent’s chat API (for example,
https://your-agent.example.com/chat). - Display Name: A user friendly name for your agent.
- Description: An intuitive description of what your agent does and how it should be used.
7
Test your agent
Use the chat preview to test your agent.